Geek Squad Email
Geek Squad Email is one of the newer and also one of the more dangerous Trojans that are currently lurking on the Internet. A huge problem in addition to Geek Squad Email and in addition to a majority of Trojans general is the point that you would generally not realize that they are on your device.
Mail deceits are any of the a majority of widespread ways that internet cyber criminals use to cheat money from unsuspecting and gullible people. Any of the the biggest part of classic examples of such a trick is when a “hacker” delivers you a note in which they say that they have controlled to enter your machine with a Trojan horse malware and now have utmost entry to your device and files and could do whatever they are keen with your system. You may be compromised that your info will be infiltrated or that some private data has been accumulated from your machine and now is about to be invented public on the net and transmitted to everybody from your contacts classification or something else in tandem these lines and that the sole method to prohibit it is to transmit a particular sum of profit in Bitcoin to a connected Bitcoin wallet.
Download Removal Toolto remove Geek Squad Email
Such scam and blackmailing e-mails, regardless, are, primarily, a bluff, a ruse. So, should you have newly gotten such a upsetting notifications, have no doubt not to fall for the states created in them. The biggest number of such crooks aren’t actual crooks and merely depend on the truth that quite a few users out there are effortless to abuse and would straightaway pay the desired sum being astonished in addition to worry. Ensure that you are not one of these kinds of people since else you may lose quite a lot of revenue.
The sole thing to indicate here, though, is that in certain situations the blackmailer may actually be a cyber crook and there may actually be a Trojan horse in your machine. Now, we do not aim to terrify you and you ought to still evidently don’t opt for the demanded payment. However, checking your computer for any concealed perils is a reliable concept. The following guidelines will help you discover and eliminate the Trojan called Geek Squad Email if it infiltrated your device.
The Geek Squad Antivirus Email Scam
You might have clicked on some compromised ad from an unreliable site or downloaded some unsafe piece of software or you might have opened some malicious spam email attachment without knowing that it was hazardous and thus you may have landed the nasty Geek Squad Antivirus Email Scam.
And, unless you obtain a legitimate antivirus program, there’s generally no way of recognizing your system has been contaminated as Trojans are largely silent and absence signs. This is why, although such deception and trick e-mails are frequently a ruse, you regardless should examine your system for infections like the Geek Squad Email or McAfee malicious software popup. As we stated earlier, our guidelines can aid you with that and you may additionally use the recommended application attached to it as generally, Trojan horse malware call for specialized security application to be uninstalled in addition to the by hand caution that you are able to take.
Download Removal Toolto remove Geek Squad EmailLearn how to remove Geek Squad Email from your computer
Step 1. Geek Squad Email Removal from Windows
a) Windows 7/XP
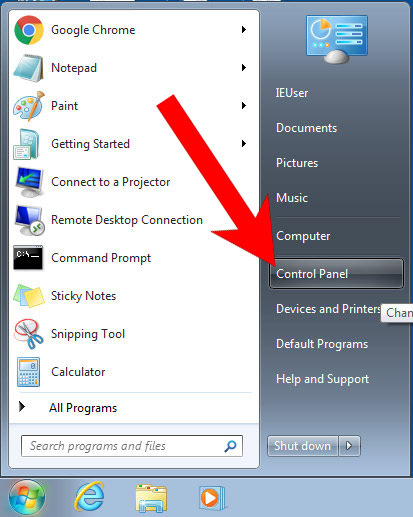
- Press on the Start icon.

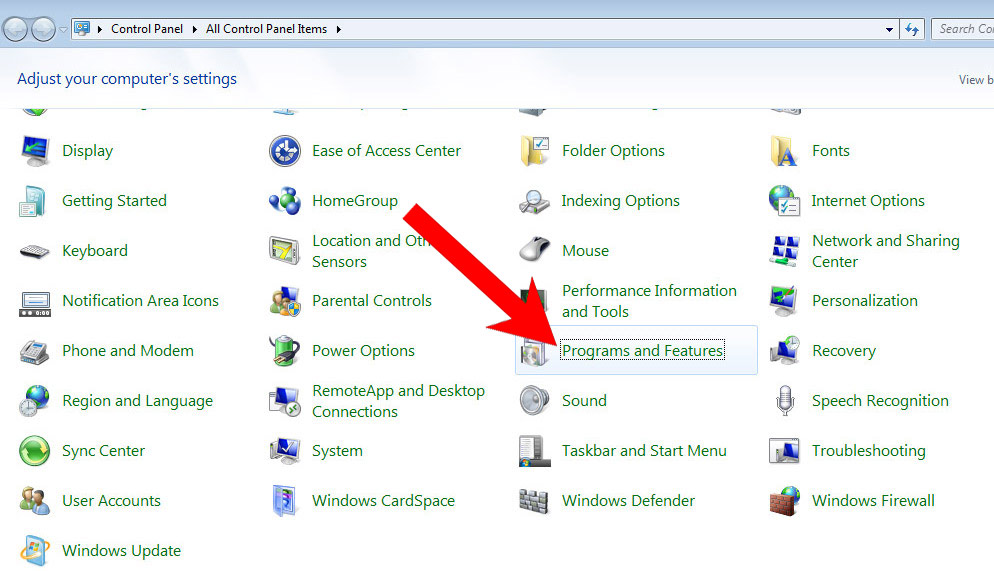
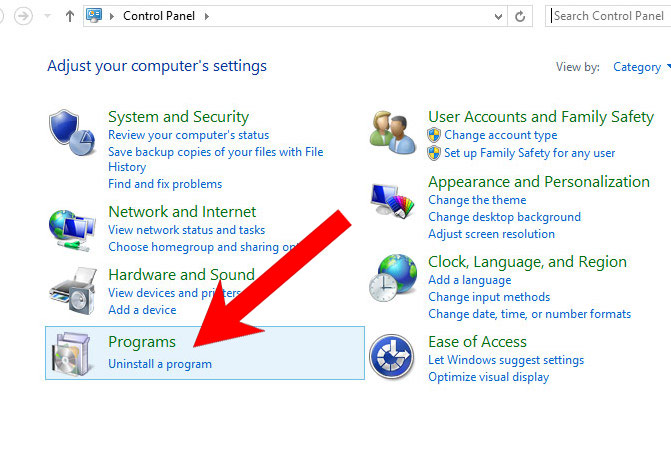
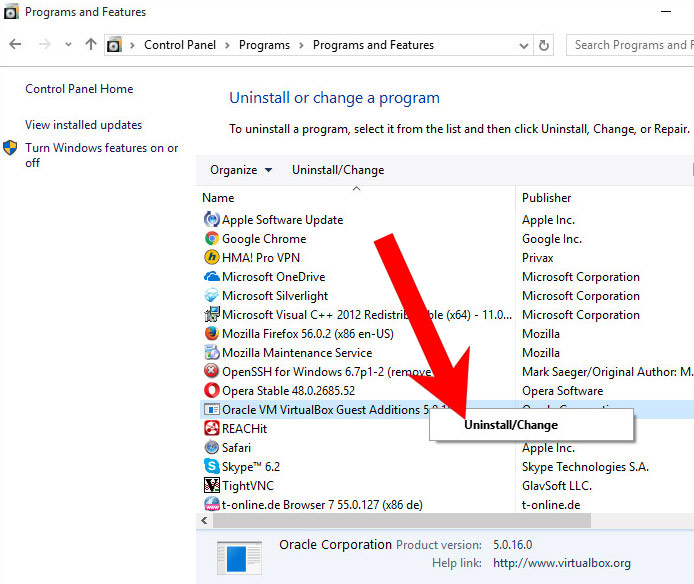
- Control Panel → Programs and Features.
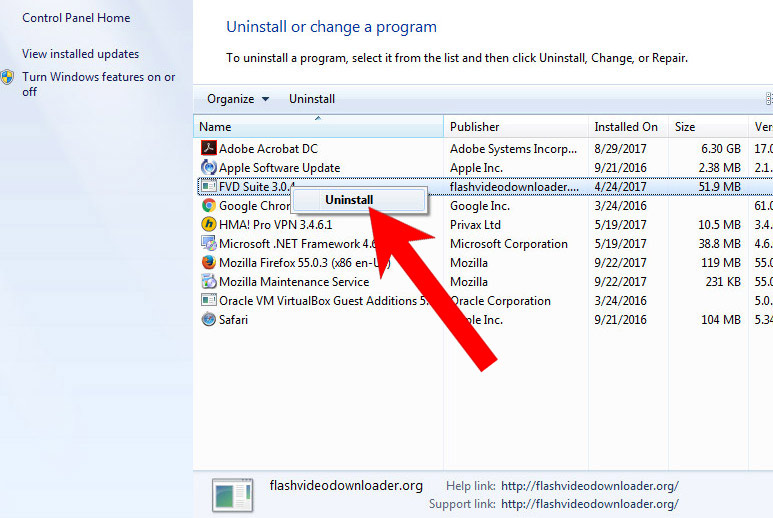
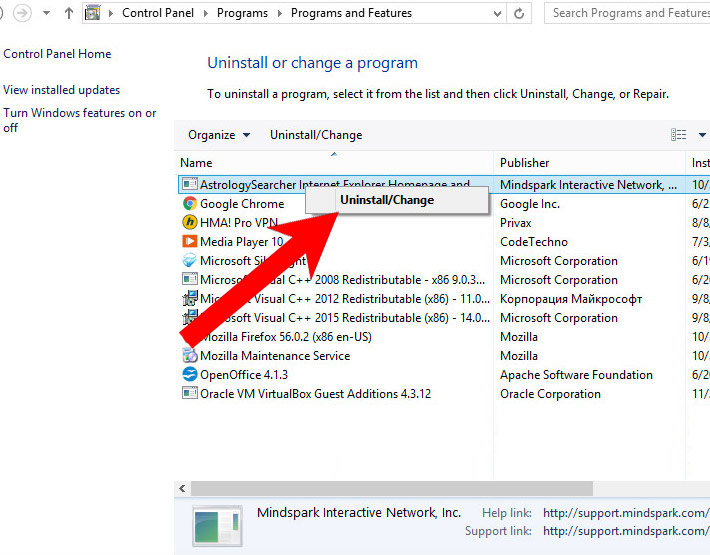
- Find the program you want to delete and press Uninstall.
b) Windows 8
- Right-click on the start icon (lower left corner).
- Select Control Panel.
- Click Programs and Features.
- Find and remove all unwanted programs.

c) Windows 10
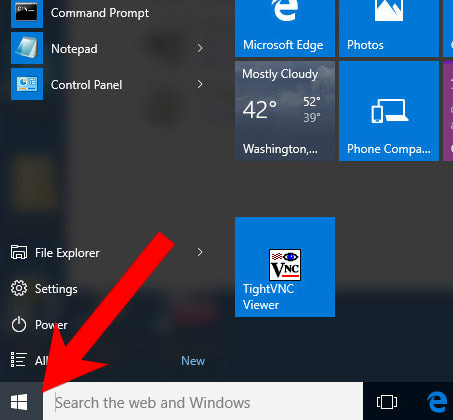
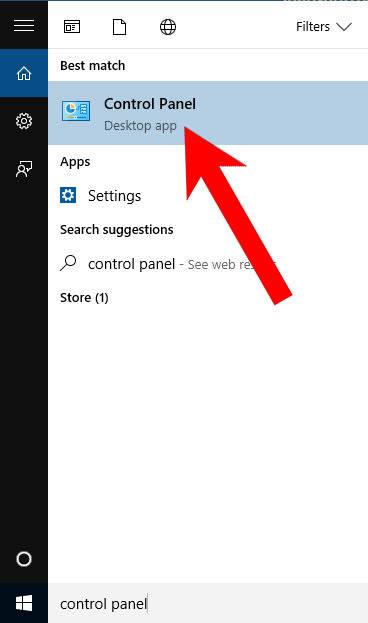
- Open Start menu and click on the magnifying glass (next to the shut down button).
- Type in Control Panel.
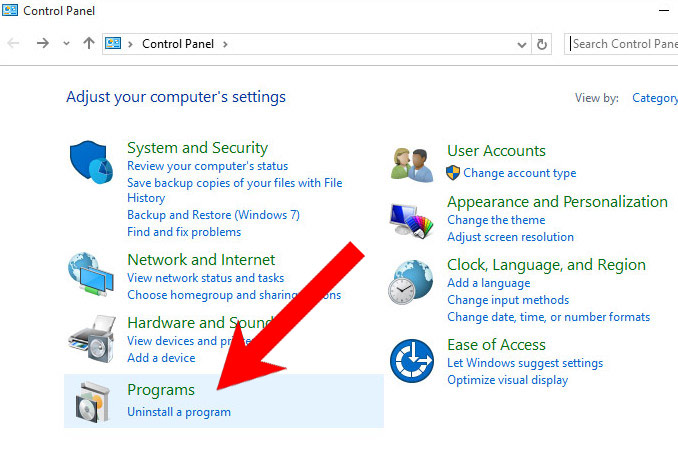
- Control Panel → Programs and Features.
- Find and remove all unwanted programs.
d) Mac OS X
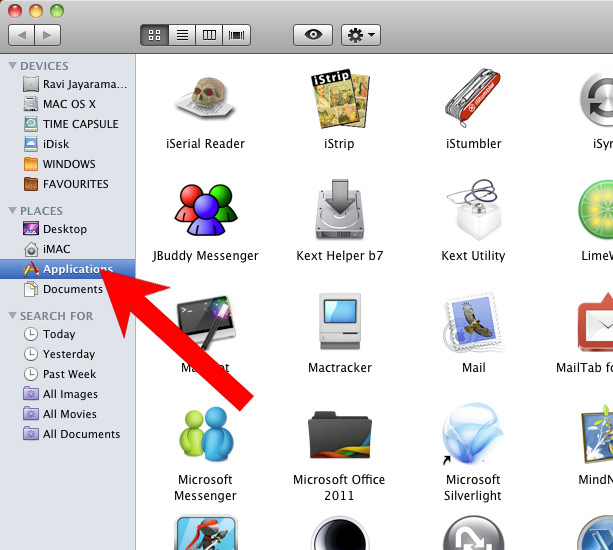
- Open Finder and press Applications.
- Check all suspicious programs you want to get rid of.
- Drag them to the trash icon in your dock (Alternatively, right-click on the program and press Move to Trash).
- After you move all the unwanted programs, right-click on the trash icon and select Empty Trash.

Step 2. Delete Geek Squad Email from browsers
a) Remove Geek Squad Email from Microsoft Edge
Reset Microsoft Edge (Method 1)
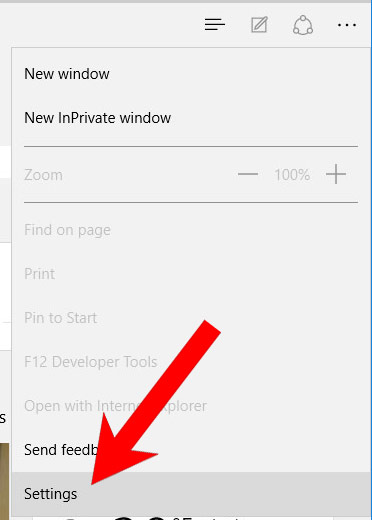
- Open Microsoft Edge.
- Press More located at the top right corner of the screen (the three dots).
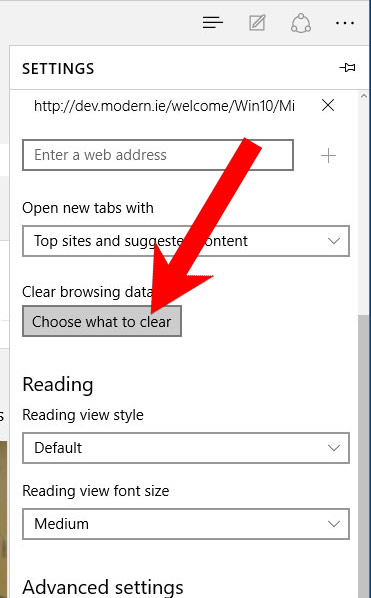
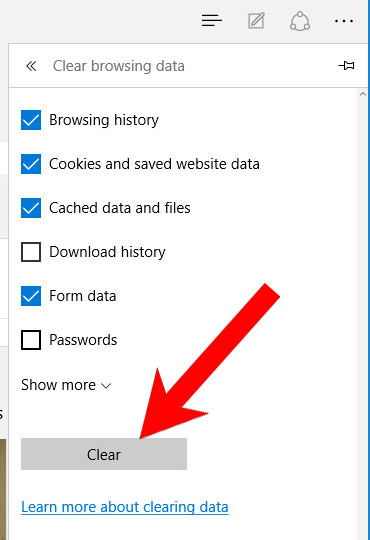
- Settings → Choose what to clear.
- Check the boxes of the items you want removed, and press Clear.
- Press Ctrl + Alt + Delete together.
- Choose Task Manager.
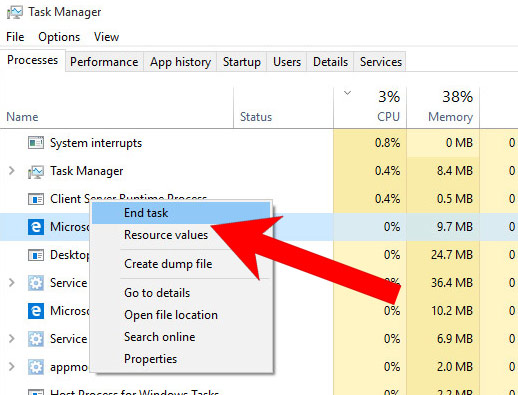
- In the Processes tab, find the Microsoft Edge process, right click on it, and press Go to details (or More details if Go to details is not available).
- Right-click on all Microsoft Edge processes, and choose End task.
(Method 2)
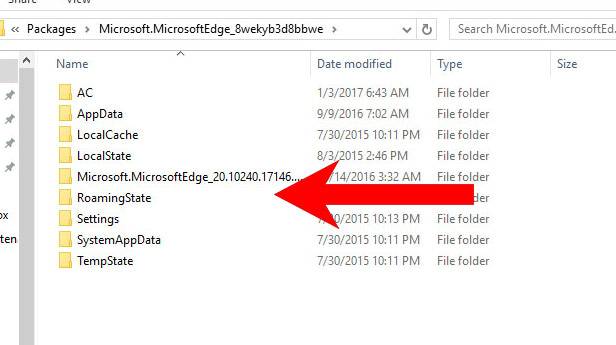
Before you proceed with this method, backup your data.- Go to C:\Users\%username%\AppData\Local\Packages\Microsoft.MicrosoftEdge_xxxxxxxxxx.
- Select all the folders, right-click on them and press Delete.
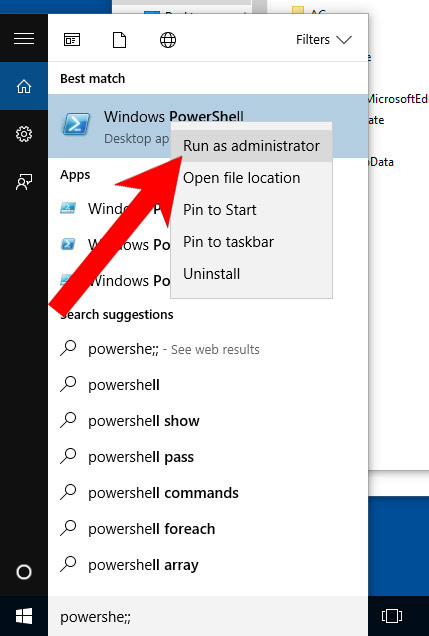
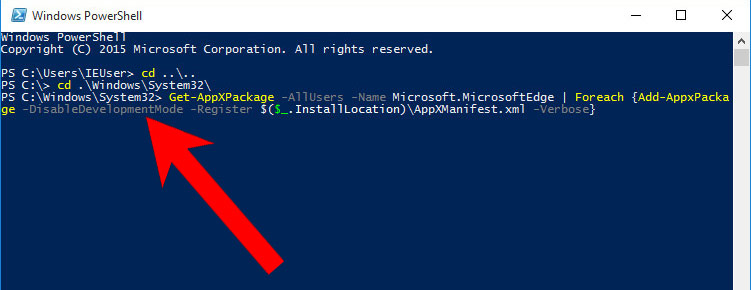
- Press the start button, and type in Windows PowerShell in the search box.
- Right-click on the result, and select Run as administrator.
- In Administrator: Windows PowerShell, paste
Get-AppXPackage -AllUsers -Name Microsoft.MicrosoftEdge | Foreach {Add-AppxPackage -DisableDevelopmentMode -Register $($_.InstallLocation)\AppXManifest.xml -Verbose}
under PS C:\WINDOWS\system32> and tap Enter.
- The issue should be gone now.
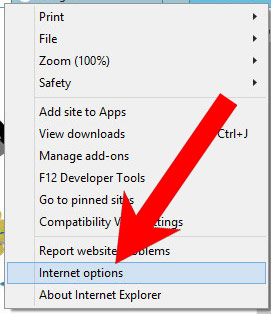
b) Remove Geek Squad Email from Internet Explorer
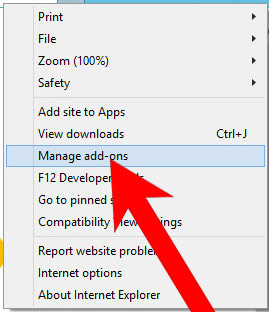
- Open Internet Explorer and press on the Gear icon.
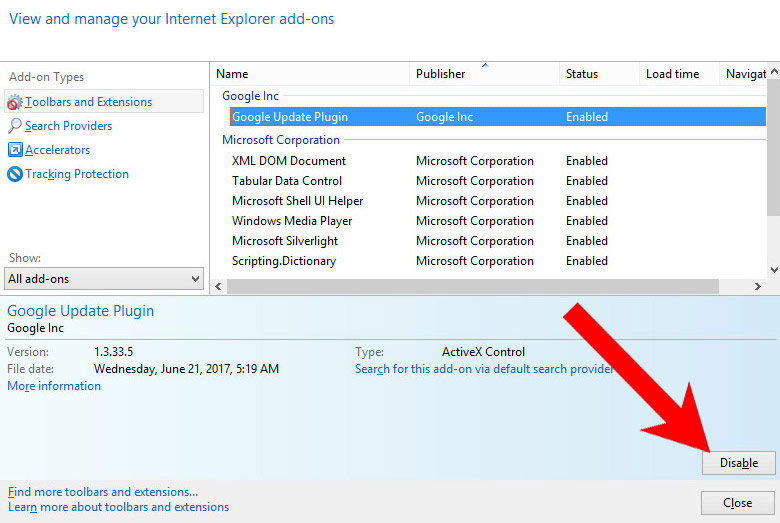
- Select Manage add-ons, and then Toolbars and Extensions.
- Find and disable all suspicious extensions.
- Close the window.
c) Restore your homepage on Internet Explorer
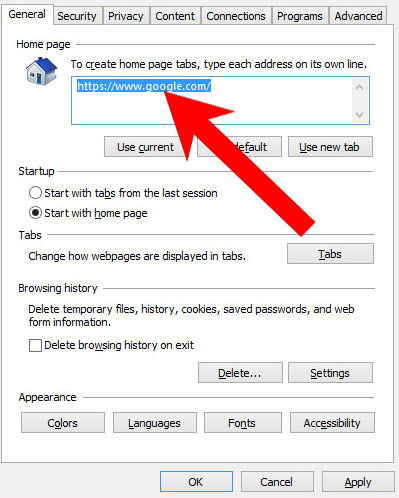
- Open Internet Explorer and press on the Gear icon.
- Internet Options → General tab. Delete the homepage URL and type in your preferred one.
- Press Apply.
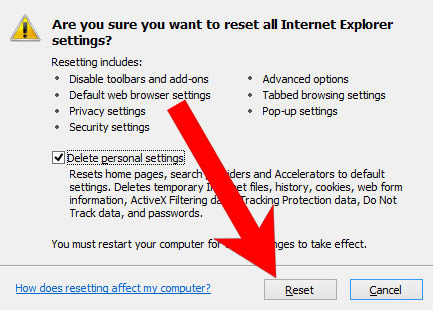
d) Reset Internet Explorer
- Open Internet Explorer and press on the Gear icon.
- Internet Options → Advanced tab.
- At the bottom, you will see a Reset button. Press that.
- In the window that appears, check the box that says Delete personal settings.
- Press Reset.
- Click OK to exit the window.
- Restart your browser.

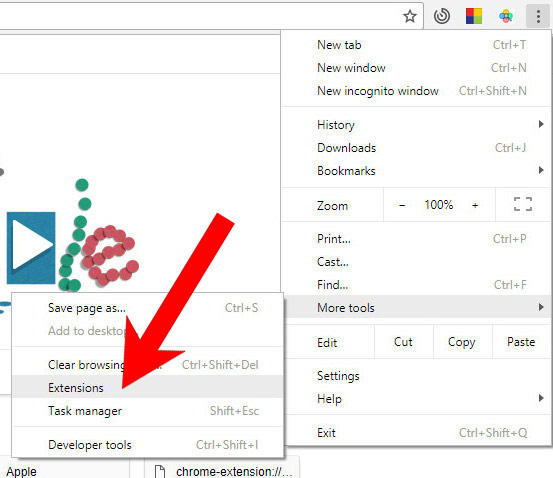
e) Remove Geek Squad Email from Google Chrome
- Open Google Chrome and press the menu icon on the right, next to the URL field.
- Choose More tools and Extensions.
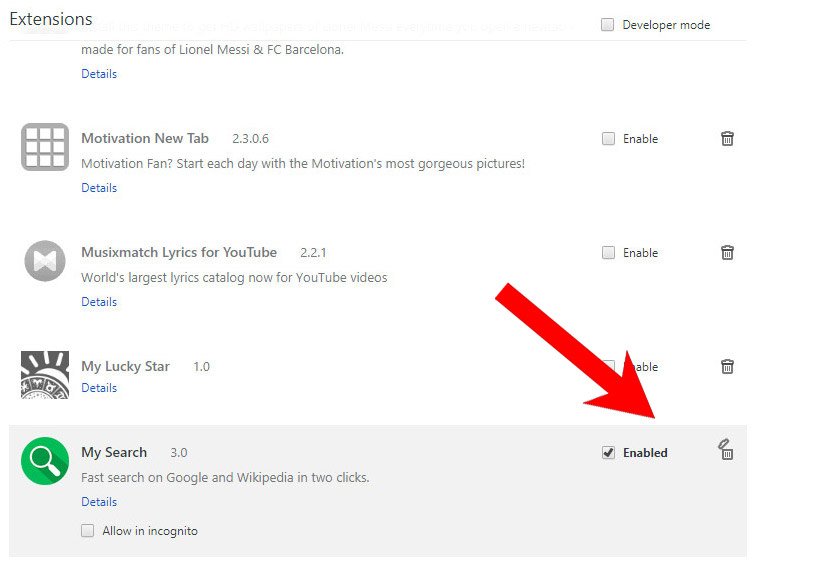
- Remove suspicious extensions by clicking the Trash icon next to them.
- If you are not certain about an extension, you can disable it by unchecking the box that says Enabled. If you later decide to keep it, simply check the box again.
f) Restore your homepage on Google Chrome
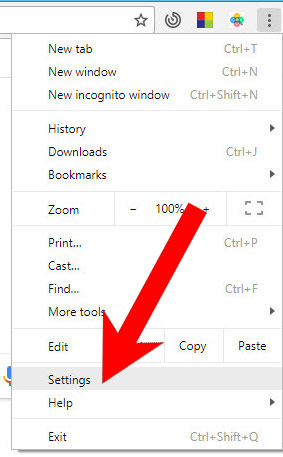
- Open Google Chrome and press the menu icon on the right, next to the URL field.
- Choose Settings.
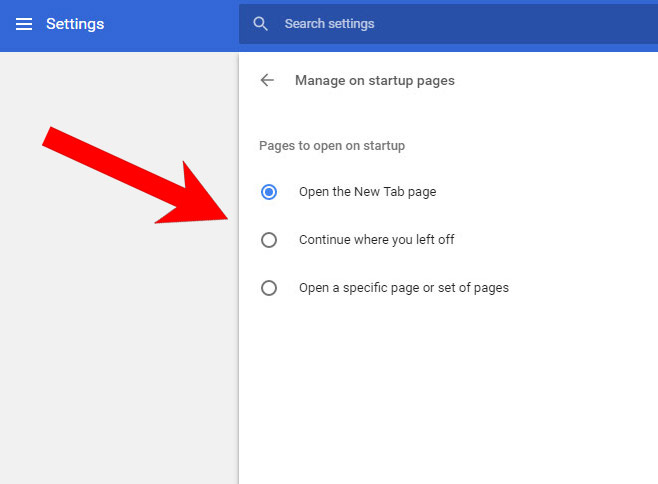
- In the window that appears, under On startup, there will be a Set pages option. Press on that.
- Remove the set website, and type in the one you prefer to be your homepage. Press OK.
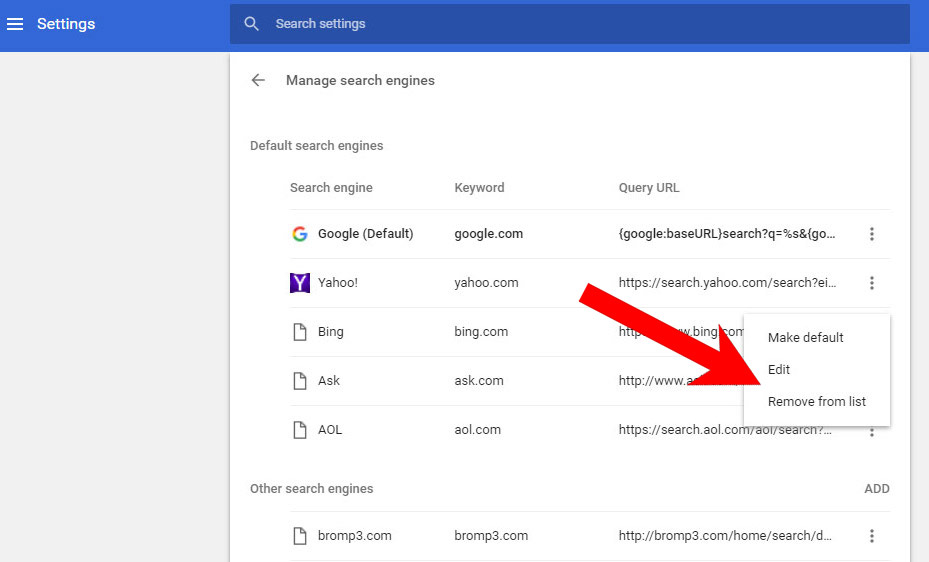
- In Settings, under Search, there is a Manage search engines option. Select that.
- Remove all search engines except the one you want to use. Click Done.
g) Reset Google Chrome
- Open Google Chrome and press the menu icon on the right, next to the URL field.
- Choose Settings.
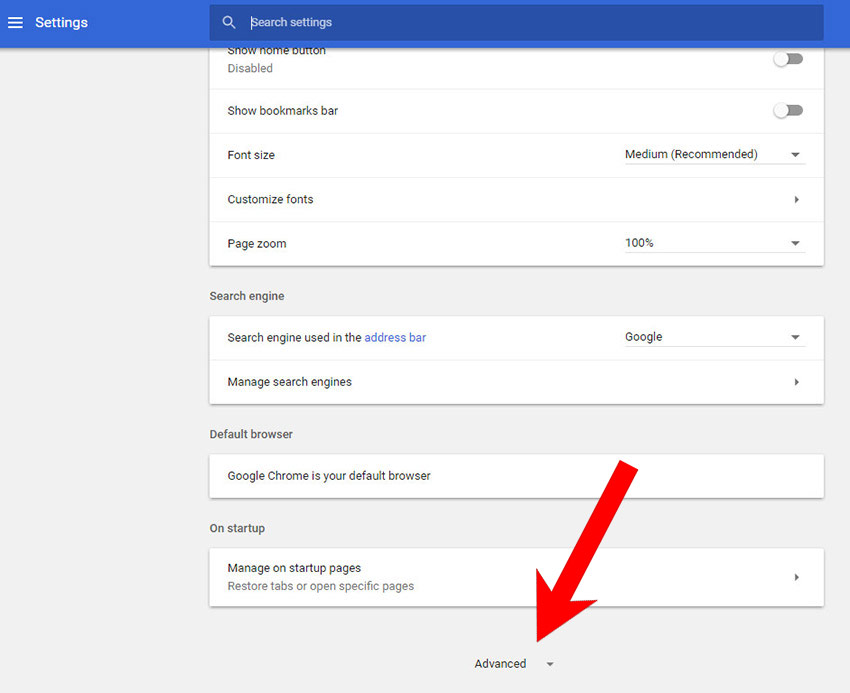
- Scroll down and press on Show advanced settings.
- Find and press the Reset button.
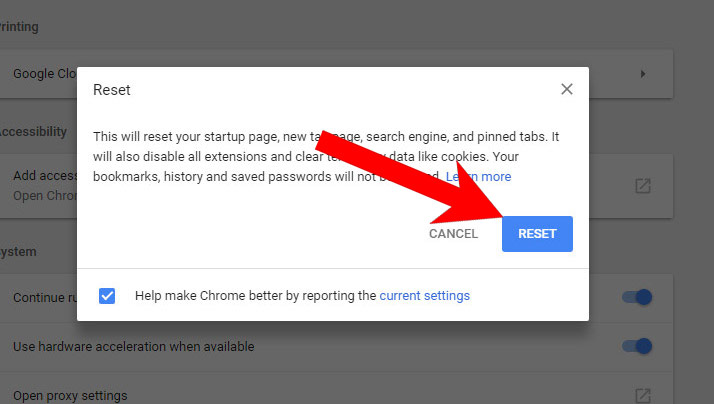
- In the confirmation window that appears, press Reset.
h) Remove Geek Squad Email from Mozilla Firefox
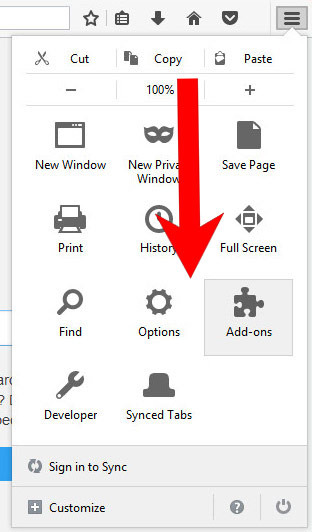
- Open Mozilla Firefox and access the menu by clicking on the three bars on the right of the screen.
- Select Add-ons.
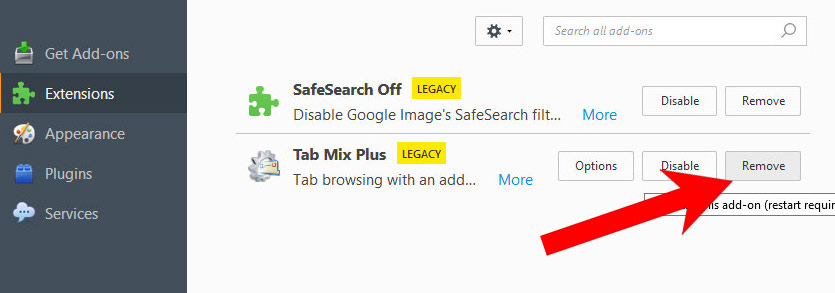
- Select the Extensions tab, and remove all questionable extensions.
- If you are not certain about an extension, you can disable it by clicking Disable. If you later decide to keep it, simply press Enable.
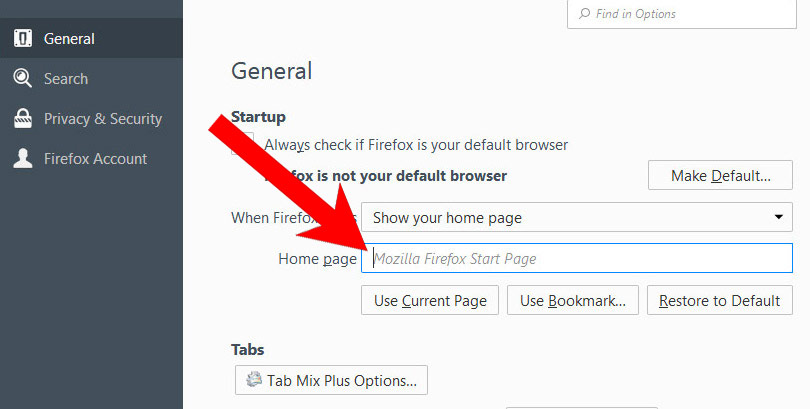
i) Restore your homepage on Mozilla Firefox
- Open Mozilla Firefox and access the menu by clicking on the three bars on the right side of the screen.
- Select Options.
- In General, click Restore to Default below the Home Page field.
j) Reset Mozilla Firefox
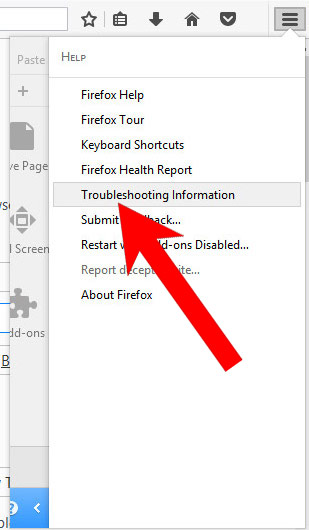
- Open Mozilla Firefox and access the menu by clicking on the three bars on the right of the screen.
- Press the question mark at the bottom of the menu.
- Select Troubleshooting Information.
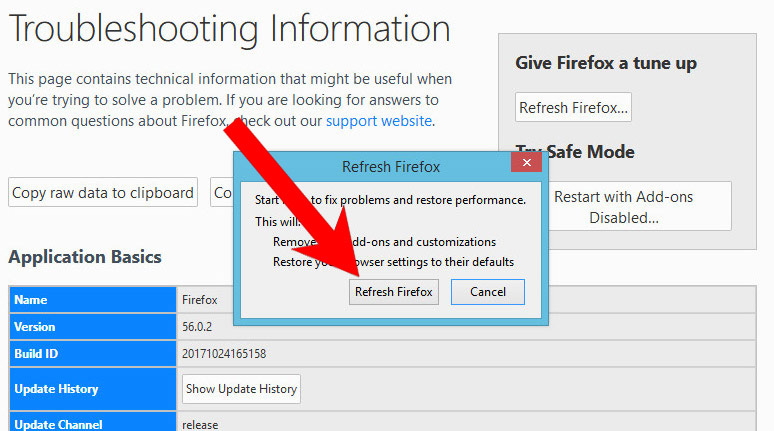
- Select the Refresh Firefox option.
k) Remove Geek Squad Email from Safari (for Mac)
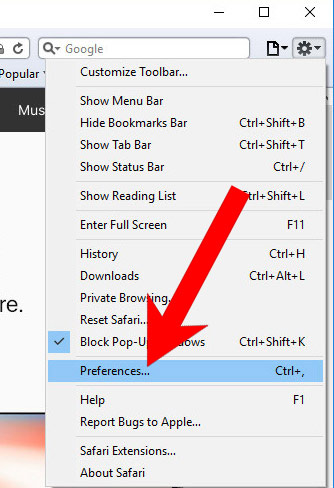
- Open Safari.
- Select Preferences (can be accesses by pressing on Safari at the top of your screen).
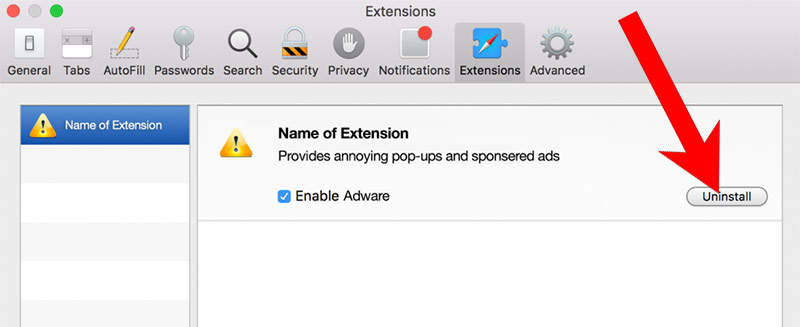
- Choose the Extensions tab.
- Uninstall all questionable extensions.
- If you are not certain about an extension, you can disable it by unchecking the box that says Enabled. If you later decide to keep it, simply check the box again.
l) Reset Safari
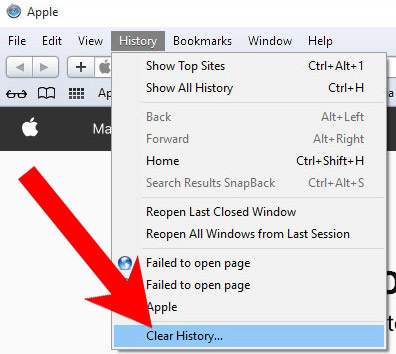
If you are using the Yosemite, El Capitan or the Sierra versions, the option to reset Safari with one click is not available. Thus you will have to clear the history and empty the caches in separate steps.- Open Safari.
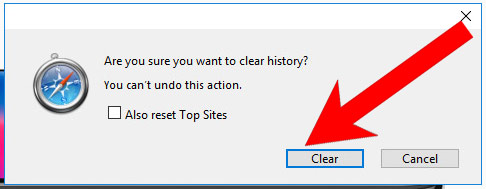
- Select Clear History (can be accesses by pressing on Safari at the top of your screen).
- Choose from what time you want the history deleted, and press Clear History.
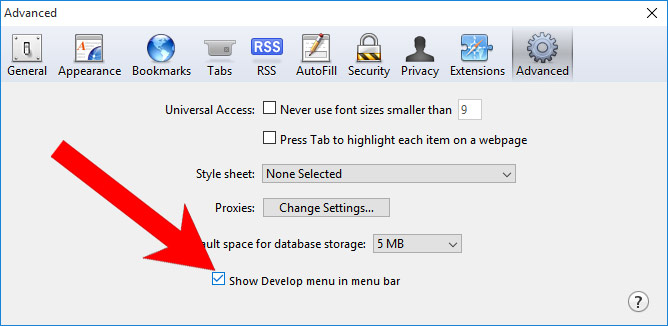
- Press on Safari at the top of the screen and select Preferences.
- Select the Advanced tab and check the box next to Show Develop menu in menu bar.
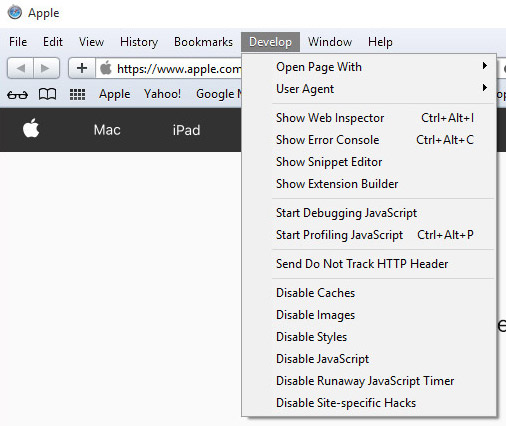
- Select Develop (from the menu bar at the top of the screen).
- Press Empty Caches.